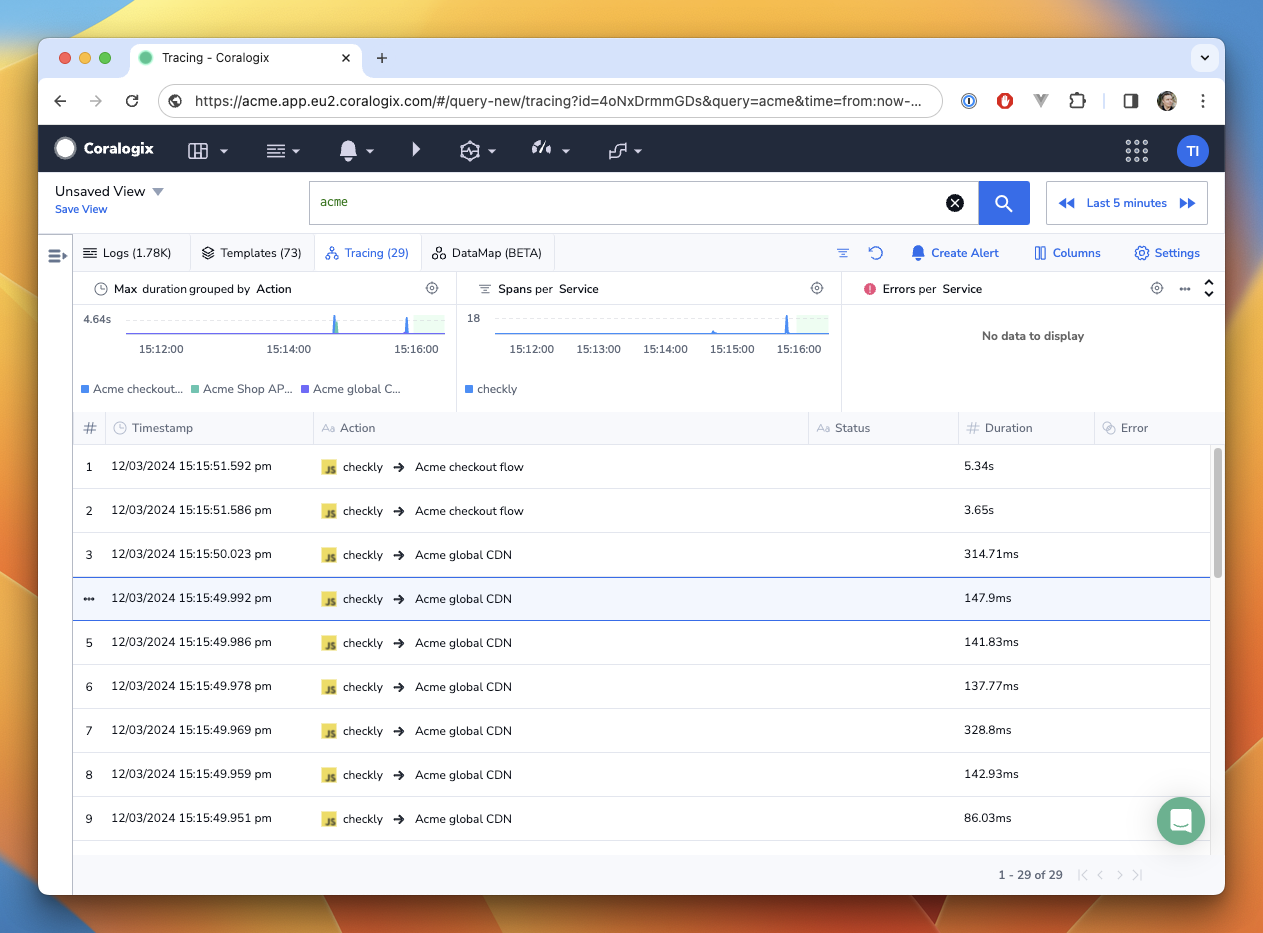
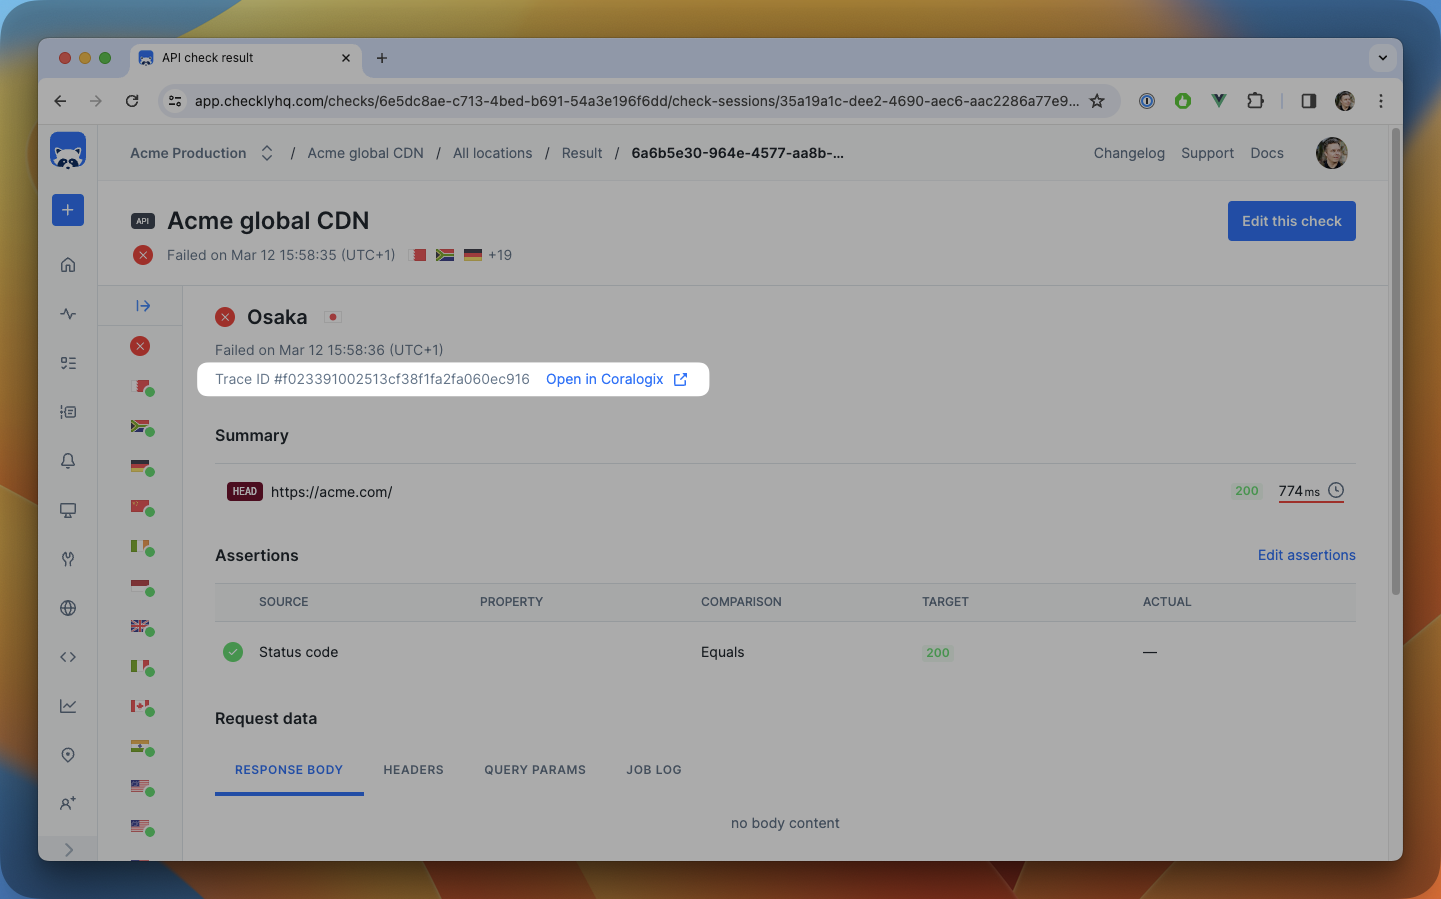
- OpenTelemetry tracing: every API check, URL monitor, Browser check and Multistep check run arrives in Coralogix as a trace, linked from the check result page.
- RUM: Browser checks and Multistep checks send Coralogix RUM data labeled
Checkly: true, so you can compare synthetic and real users. - Alert channel: your Checkly alert notifications arrive in Coralogix Logs.
OpenTelemetry tracing
Prerequisites
Prerequisites
- A plan that includes the Coralogix integration.
- A Coralogix account where you can create Send-Your-Data API keys.
- In Coralogix, create a Send-Your-Data API key under Settings > Users and Teams > API Keys. See the Coralogix API keys documentation.
- In Checkly, open Settings > Integrations and click Add Coralogix integration.
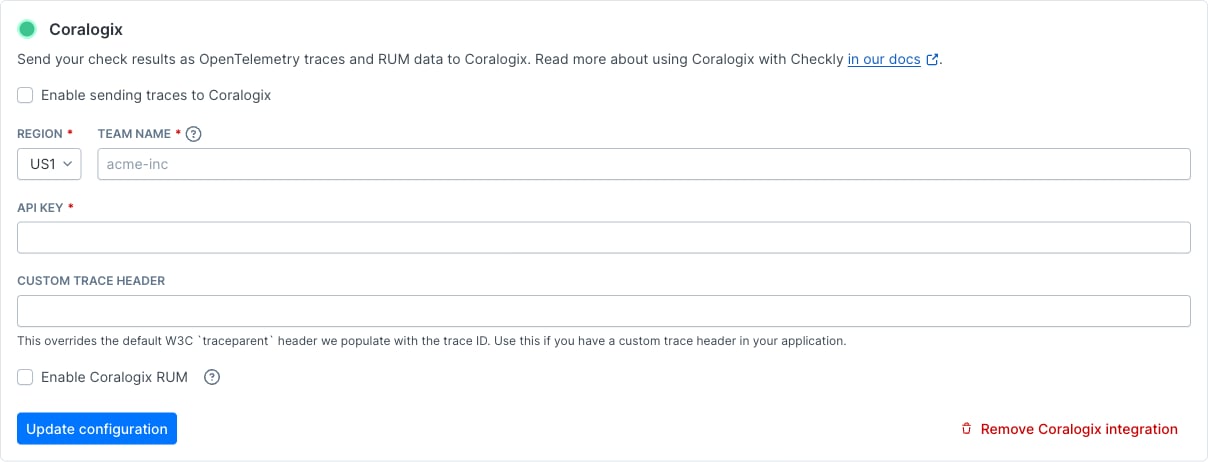
- Pick the region of your Coralogix tenant and enter your team name. The region selects the ingest endpoint. The team name only builds the permalink shown on the check result page.
- Select Enable sending traces to Coralogix, paste the API key and save the integration.
traceparent and tracestate headers to the requests your checks make, so spans from your instrumented backend join the same trace. The OTLP page documents both headers.
What is sent
Exported spans carry thecheckly.* attributes documented on the OTLP page: checkly.account.id, checkly.check.id, checkly.check.result.id, checkly.check.name, checkly.check.type, checkly.check.runtime, checkly.check.session.id, checkly.check.location, checkly.check.tags and checkly.check.status. It also carries two Coralogix resource attributes:
When the Coralogix integration and the generic export on Settings > Traces are both on, these
cx.* resource attributes may also reach your generic endpoint from API checks, URL monitors, Browser checks and Multistep checks.
Custom trace header
If your backend reads a header other thantraceparent, set its name in the Custom trace header field. When it is set, API checks and URL monitors send the custom header instead of traceparent, even when the generic OTLP export is also on, so backend spans no longer join those check runs by traceparent. Browser checks and Multistep checks send both headers unless every enabled export has a custom header.
Check metrics, such as response times and availability, are not sent through this integration. To get them into Coralogix, scrape the Prometheus endpoint and forward the metrics with an OpenTelemetry Collector.
RUM
With RUM enabled, Checkly injects the Coralogix RUM SDK into your Browser checks and Multistep checks. Their RUM data reaches Coralogix with the labelCheckly: true.
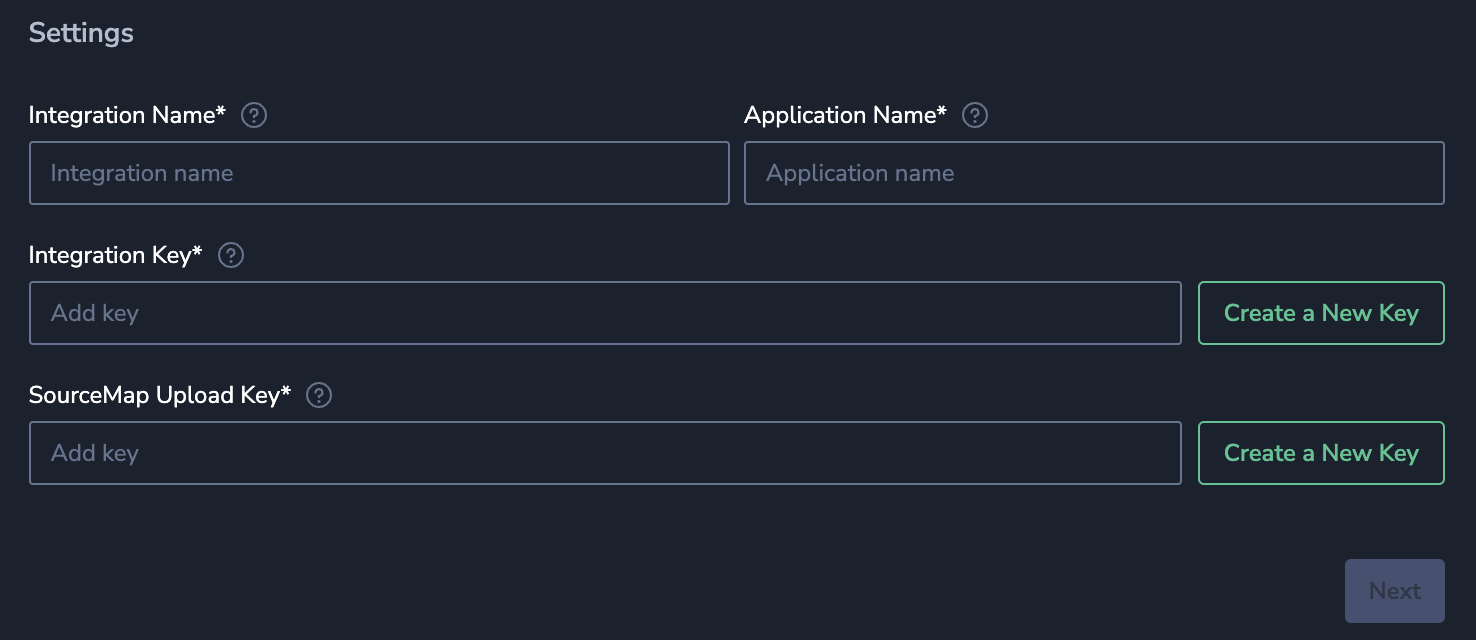
- In Coralogix, create a Send-Your-Data API key with the SendRUMData role preset under Settings > Users and Teams > API Keys. The Coralogix RUM documentation covers the Coralogix side.
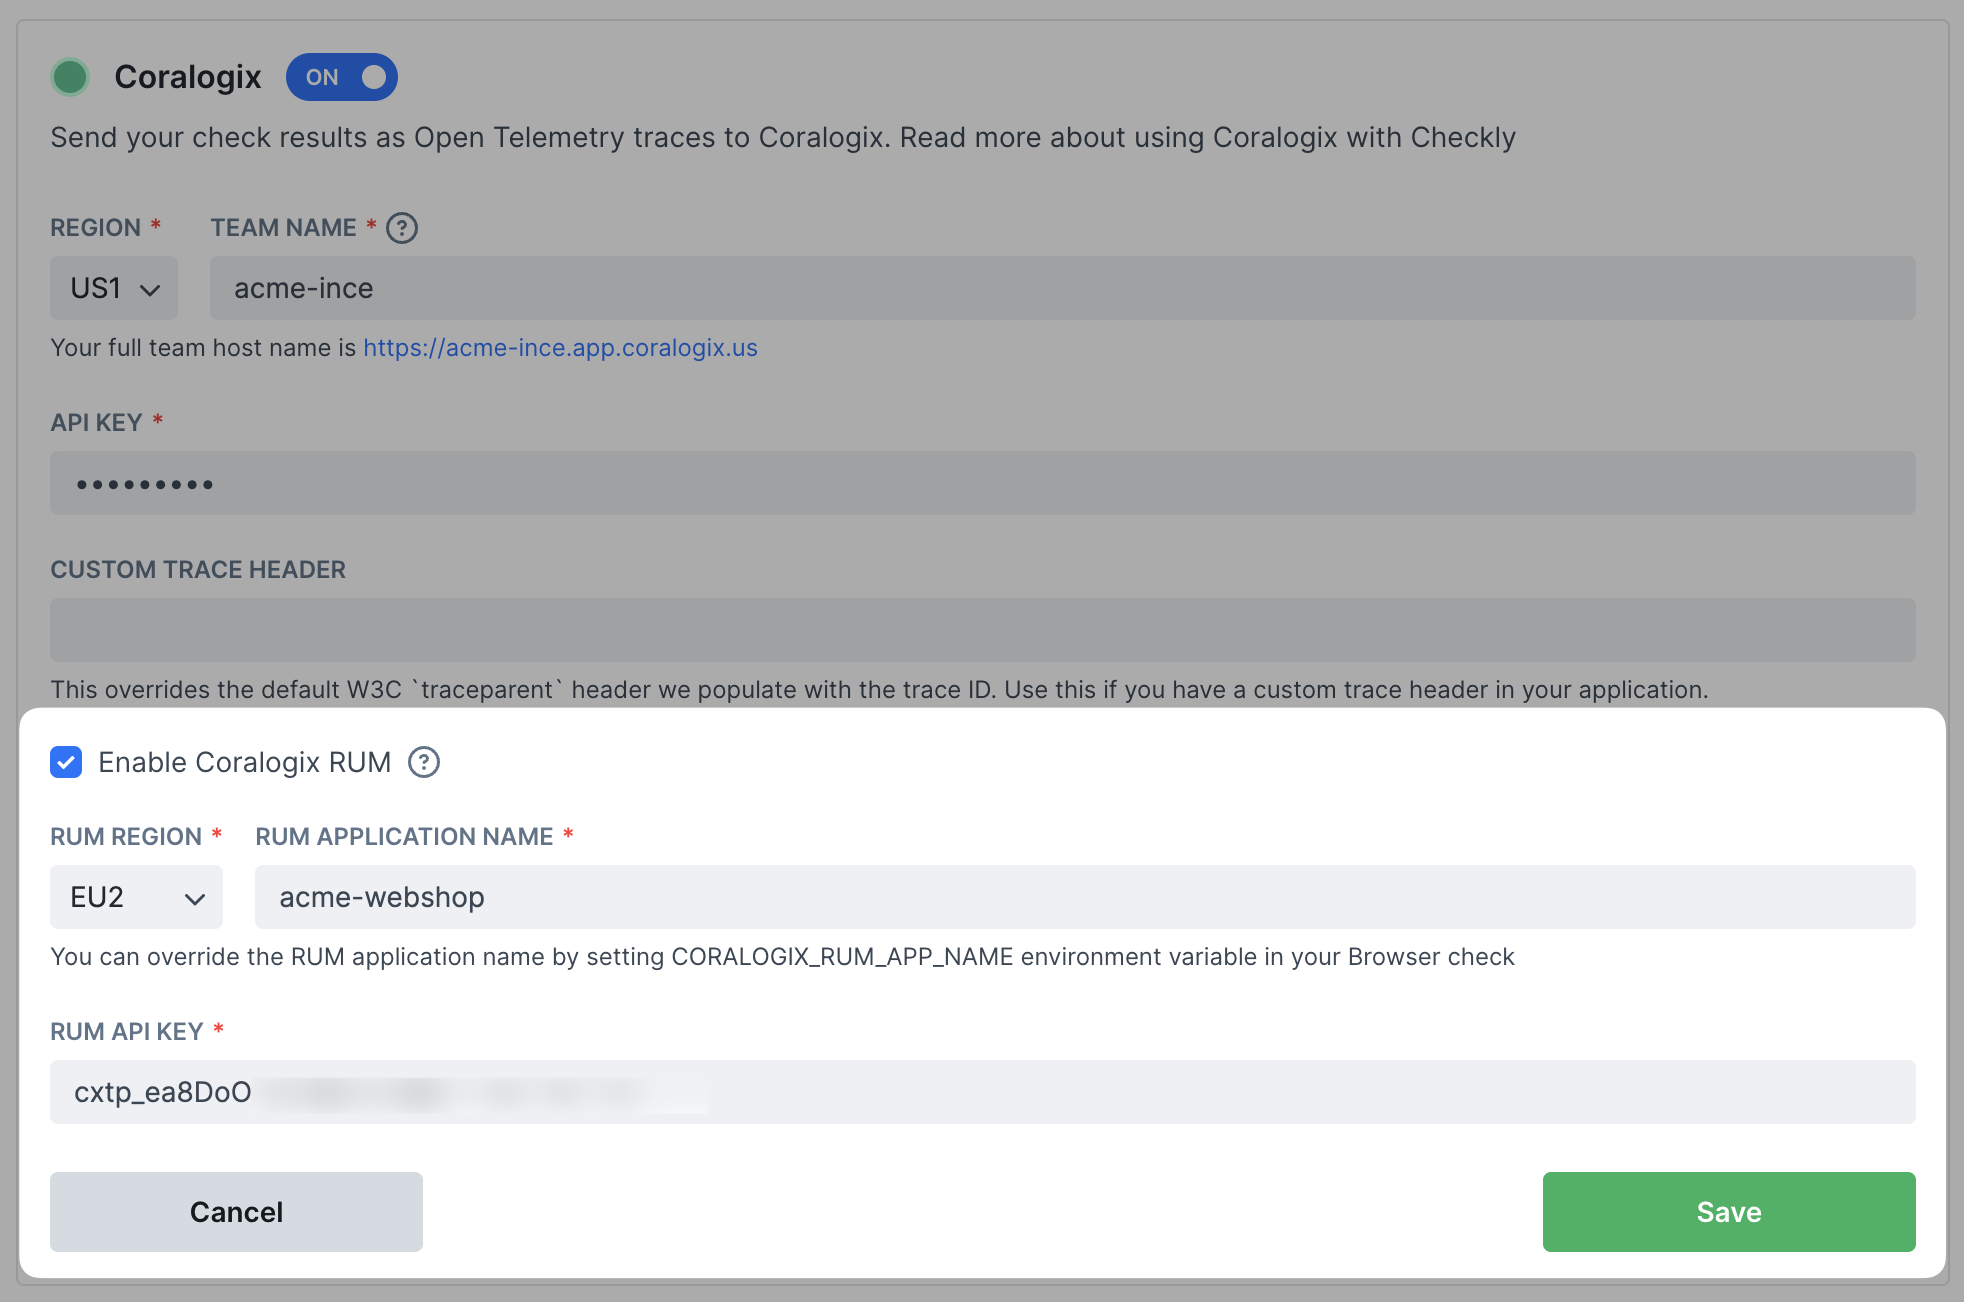
- In the Coralogix integration in Checkly, select Enable Coralogix RUM and pick the RUM Region of your tenant.
- Set the RUM application name to the application your checks target, for example
my-website. - Paste the key into RUM API key and save the integration.
CORALOGIX_RUM_APP_NAME on a check to override the application name for that check.
Alert channel to Coralogix Logs
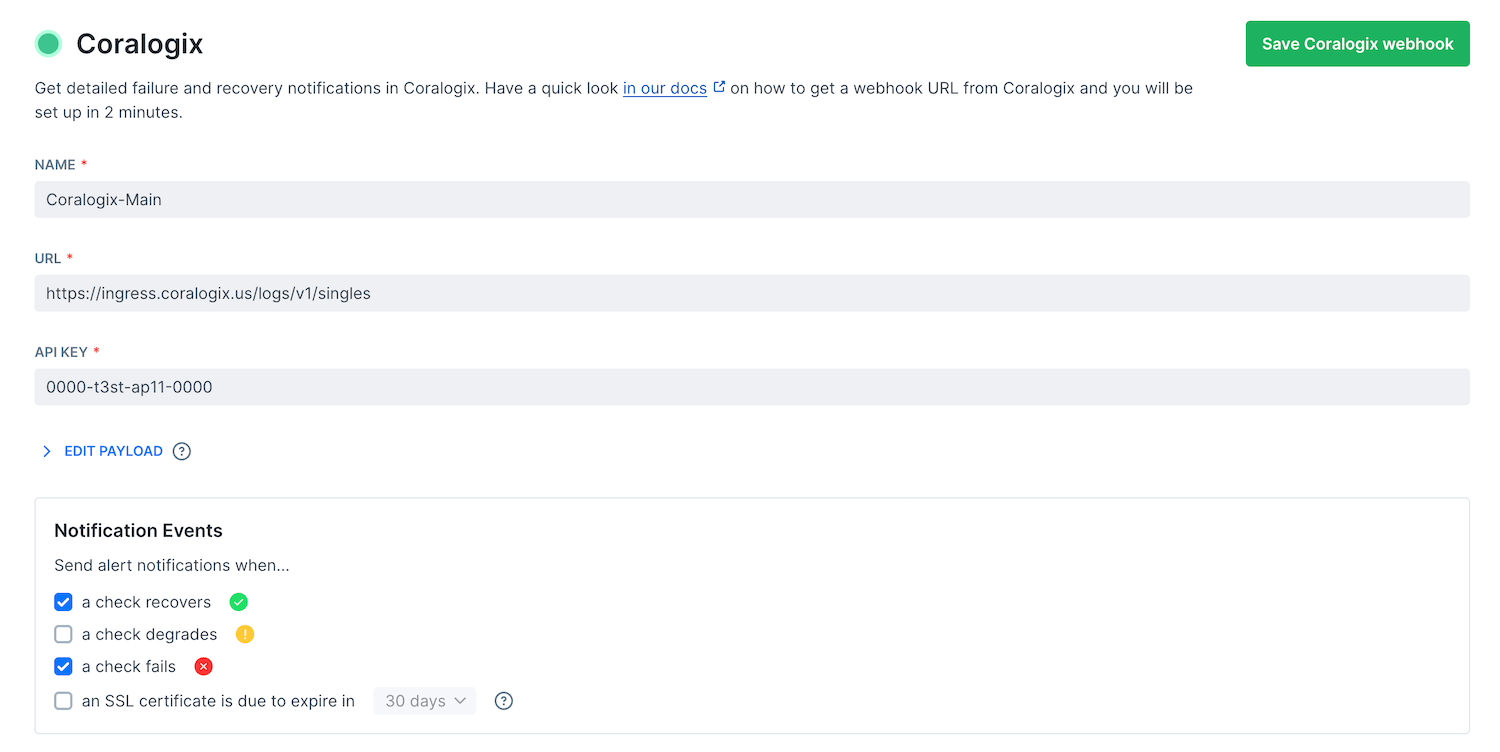
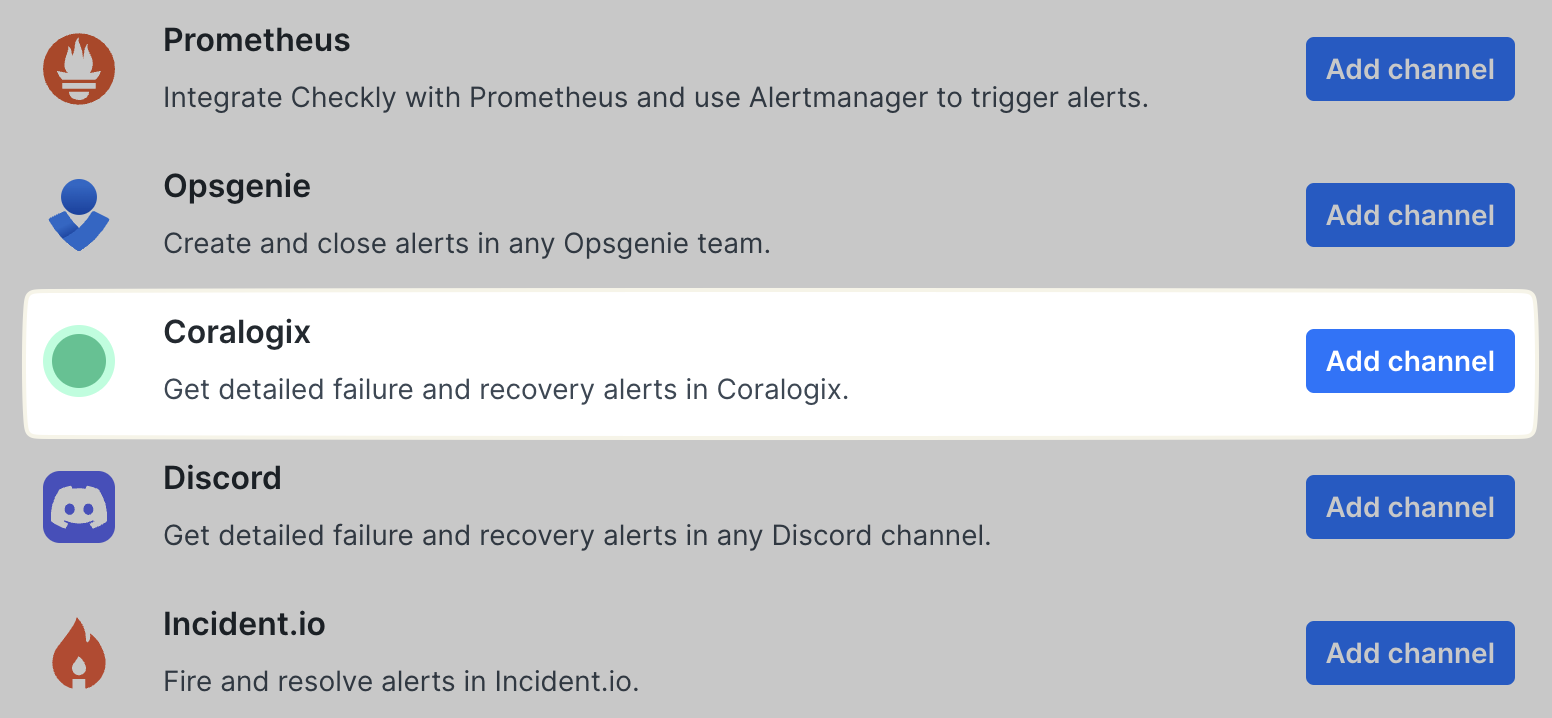
Coralogix can receive your alert notifications as logs. This alert channel works without the tracing and RUM integrations.- In Checkly, go to Alert channels, click + Add more channels (New alert channel if you have none yet), find Coralogix and click Add channel.
- In Coralogix, create a Send-Your-Data API key under Settings > Users and Teams > API Keys. Paste it into the channel form.
- Name the channel and enter the Coralogix Logs API endpoint for your region, for example
https://ingress.eu2.coralogix.com/logs/v1/singles. Make sure the right checks subscribe to the channel and the Send when rules fit, then click Save Coralogix webhook.